Author Archives: admin

Image of the week #15

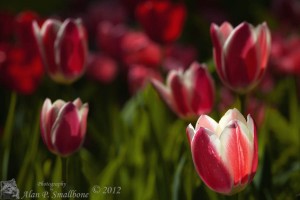
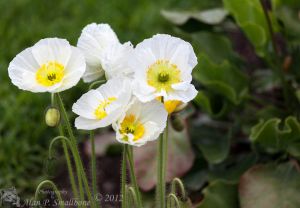
Spring is here, flowers are out and the weather is definitely getting warmer, and warmer. Since we seem to go into extremes, cold then hot, it can make it rough on finding spring flowers. So when the wildflowers are not producing, the gardens get worked. This is from Descanso Gardens, they always have a nice display of tulips.  The was taken in a patch that was partially shaded and what I did was accentuate the shadows and the highlighted areas.  The translucent appearance of the tulips when backlit caught my eye. Taken with a Canon 5DmarkII and 70-200mm f4 at f4 and 163mm. Enjoy.


Image of the week #14

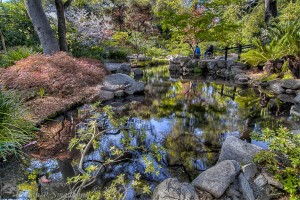
This weeks is a view of the Japanese Garden at Descanso Gardens in La Canada on a nice sunny spring afternoon. Taken with a Canon 5DmarkII and a Tokina 16-28mm lens at f11. Beautiful garden but very difficult to capture, lots of different light zones. Hope you enjoy it.


Image of the week #13

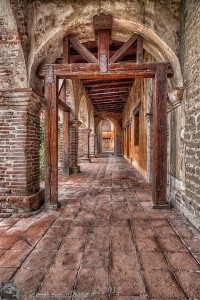
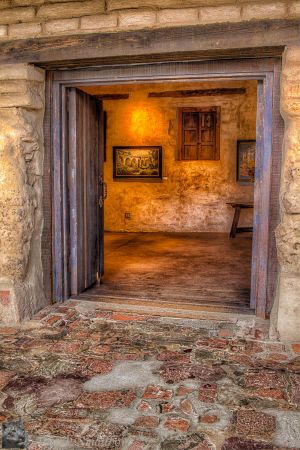
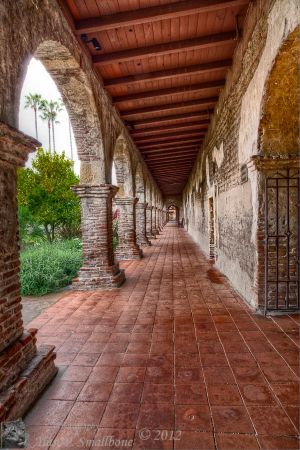
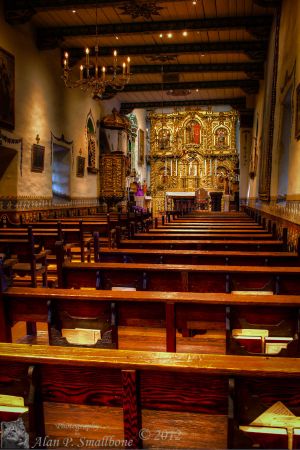
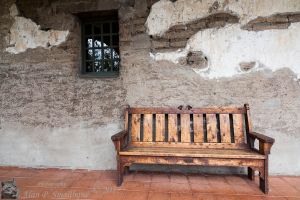
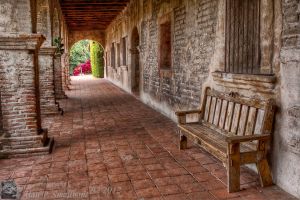
This week’s image was taken at the San Juan Capistrano Mission, this was the first time I have visited that Mission and found it to be quite an interesting place. There is a lot to see and especially to photograph, lots of textures and a nice garden as well as lots of history to be seen. Quite an interesting place and one I think I will be returning to sometime soon. It was a cloudy day with a slight drizzle which made for dull grey skies but makes for nice diffused lighting. I was surprised at how large the grounds were and how nicely they have been maintained. The Chapel is still active although they have built a new modern Basilica at the far end of the property and is really mostly isolated from the older historic mission.

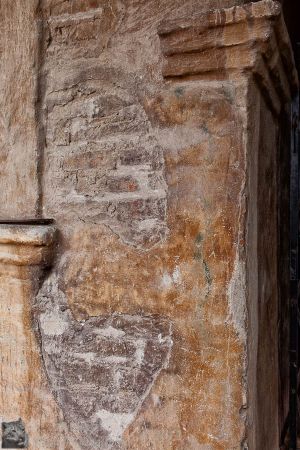
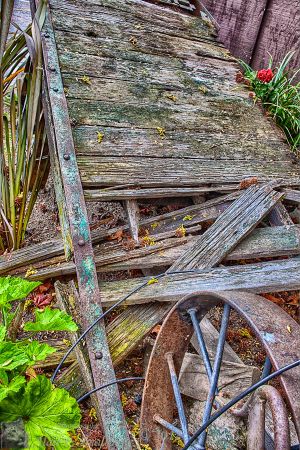
Well it was hard to pick a single image for use, so I decided to throw up a few more images from the trip. The nice thing is that they did allow tripods so that was really nice. The textures of the brick and adobe were really nice, I never did see the whole grounds so it will definitely get a second visit. The last two shots below are not technically from the mission grounds they are from the railroad depot across the street. I met a few other photographers from google+ there and had a great time meeting them and seeing what they were shooting.

_MG_7855_6_7-Edit-web.jpg_MG_7870_1_2-Edit-Edit-Edit-web.jpg_MG_7876_7_8-Edit-web.jpg_MG_7886-web.jpg_MG_7904-web.jpg_MG_7905-web.jpg_MG_7931_2_3-Edit-Edit-Edit-web.jpg_MG_7948-Edit-Edit-Edit-web.jpg_MG_7950_1_2-Edit-web.jpg_MG_7978-Edit-web.jpg

Image of the week #12

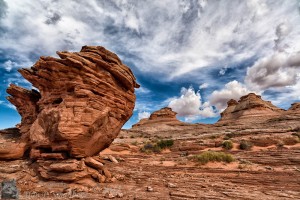
This week’s image was one I took back in May of 2011, but I have since learned some new skills in editing and I think it has made some improvements to the image. This was taken near Page, Arizona, some nice sandstone sculpted by wind and rain, taken with a Canon 5Dm2 and a Zeiss 21mm lens. I really like the 3d effect, this was just an awesome day to be out doing some photography. Enjoy.

Image of the week #11

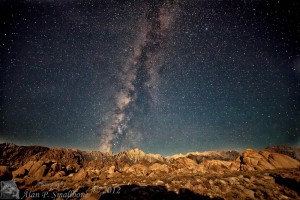
The summer Milky Way over the Sierra Nevada from the Alabama Hills, this image was taken last August but I finally got around to processing it. This is a single image taken with a Samyang 14mm f2.8 lens at f2.8 and ISO 3200 with a Canon 5Dm2. The moon had just risen up behind me and that is what illuminated the foreground and the mountain range, this 30 second exposure makes it look like daylight, almost. The Alabama Hills is a nice place to visit and is a familiar backdrop for a lot of Hollywood movies. This is located just outside Lone Pine, CA and in the mountain range to the right of the center of the image is Mt. Whitney, the highest peak in the Continental United States. The image turned out a lot better than I thought it would so I am pretty happy with it. Hope you enjoy it also.


Portraits

Portraits: a lot of photographers make their living taking them but they are a subject I seem to not do very often, so I have set out to change that a bit. Part of my quest has also involved lighting and learning how to light without relying on natural light. I usually prefer natural light but it does not always cooperate when you need it. I think I am finally feeling a bit more comfortable about using flash and have a better understanding in how to use it and how to set it. I had a lot of previous misconceptions and always used to rely on the camera to set all the flash settings, and I often found out that was not optimal. Yes it did light the subject but often in a way I did not find appealing so I am slowly getting more familiar with how to control it. Manual control is your friend!

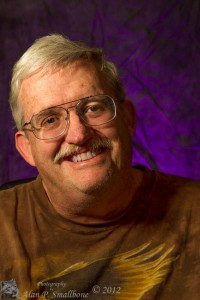
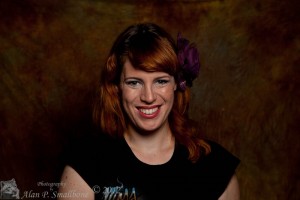
Portraits are hard for me, mostly because of lack of experience I think. I also am a relatively shy person especially with people I do not know. This last weekend I tried to take the hardest portrait of all…. the self-portrait. This is difficult for a lot of reasons, primarily the subject and the operator are on the same side of the lens, which makes controlling the camera a bit difficult. One option is to use a remote and a self timer and just start guessing. Or have a stand in to use for composing and framing and focusing and then do the footwork to take the image.  The option I chose was to use my Motorola Xoom tablet! There is a nicely done application from the Android Market called DSLR Controller and it works great for controlling the camera. I was able to hold the tablet in my hand while in front of the camera and see the live view of what the camera was seeing. This allowed me to focus, change exposure, take images and review them and either delete them or let them stay on the memory card. This setup actually made it fun and left me to play with the lighting and the exposure. Of course the subject matter I was stuck with and I did not have to entertain or relax the subject. Here is one of the attempts that I liked.

 I had my camera setup on a tripod and the Xoom tablet attached via the usb cable, so I was able to focus and control the exposure and camera settings from the tablet while I was staring into the camera lens, how cool is that? I used two speedlights, the first was off to my right and fairly high up, this 580exII had a Honl travel softbox with a warming gel, set at about 1/2 power. Behind me was another flash that had a small grid and a purple gel. The grid made for a small spotlight effect, I wanted to create some feel of separation from the background. A very simple and easily transportable setup.

Below are a few more examples of portraits that I have made using a similar setup, but I was behind the camera this time, this was from a class I took on using off camera flash.


So where does this leave me? Well I am getting the technical aspects down but what else is there? I am quite happy with these, but there is always room for improvement. That is the great and interesting thing about photography is that it is a constant challenge.

The team at Craft and Vision, who publish some really excellent ebooks, have come out with an ebook dealing with portraits. It is written by David duChemin, who takes some fabulous portraits. Here is a shot of the cover, and it is called “Forget Mugshots  10 steps to better portraits”


This book  is not meant to cover the technical aspects of taking a portrait, it gives you some insight in how to get a portrait that is attractive and has a sense of emotion.  This is all about how to make a compelling and natural looking portrait. Things like engaging your subject to make them relax, how to get the person to open up and act natural. There are some interesting and compelling things to try, exercises to help the photographer break out of the mold of standard cut and dry portraiture. He also shows some examples and talks about the methods he uses to break down the barriers. A lot of what he says will help you break out of the mold and step away from conventional thinking to apply creativity and create portraits that you and your subject will both enjoy. David duChemin has a really down to earth manner of writing and is really good at stimulating thinking about improving your own vision, I find him to be a good motivational author.

This ebook is available for the nominal price of $5 and if you order it before March 17 you can get it for $4 using the code: “Mugshots4” when you check out. Click here to visit Craft And Vision.  You will also find a lot more useful and informative ebooks there. Well worth checking out some of the titles. If you do decide to purchase 5 or more ebooks enter the code “Mugshots20” and save 20%. Remember these codes expire at midnight on March 17.

I hope that this will get others to look into doing portraits and I am always happy to answer questions, and if you want to have your portrait taken….please feel free to contact me. Thanks.


Image of the week #10

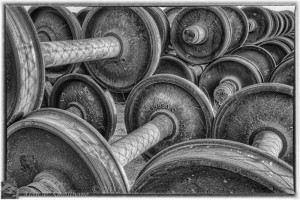
Well it is hard to believe that 10 weeks have already gone by since the start of the year, time flies so to speak. This week’s image is of a stack of railroad wheels that are now scrap that were sent back for repair/service. This open air yard had hundreds of these wheel sets, most with recent dates on them. On the premises are some large buildings where they seem to work 7 days a week on these wheels. It is impressive to see how massive they are and I know I could not get one to budge, so literally there are tons of them at this location. I have no other information on what they do or how they repair them, but the wheels themselves make for interesting subjects. These are located in Mojave, Ca. This was taken with a Canon 5DmII and a Zeiss 35mm f2 lens, and processed in photomatix, lightroom and then turned to black and white using Silver Efex Pro 2. I think the border really adds to the feel of this image, and the late day light made for some long soft shadows. It is hard to get an idea of size but I am sure most of you have seen railroad cars so that might help give some scale.  Hope you enjoy it.

Railroad wheel sets

Image of the week #9

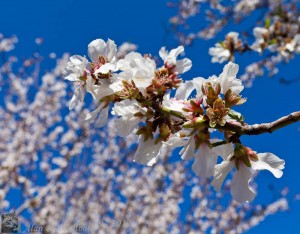
This week’s image is of almond blossoms. This is the time of year for the trees get pollinated and they flower before getting leaves. The owners had lots of bee hives everywhere, the bees buzzing around constantly. They rely on the bees and so so they rent hives to pollinate the crop. Taken handheld with a Zeiss 35mm f2 at f11. Location was near the town of Arvin, CA.


Image of the week #8

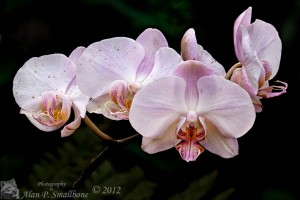
Orchids! This was taken at the Los Angeles Arboretum, and is a stack of 12 images to get the all of the orchids into focus at one time. So 12 different images were taken and stacked together only using the pieces that were in focus. This is one solution to increase the DOF of an image. Taken with a 180mm macro lens at f11. Stacked with Zerene stacker software.


Image of the week #7

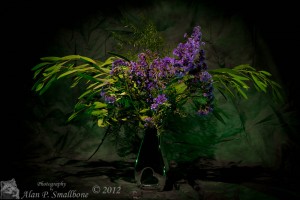
This weeks image of the week is a learning exercise. Last weekend I took two courses on using speedlight flash on and off camera, this image is practicing what I learned. Most of what I learned from David Honl is applied in this image. The flowers are from my garden and my wife had picked them and had them setup for me when I got home on Valentine’s Day. We had made a decision about not buying flowers for “occasions” such as this, but this was a nice surprise. This image uses 4 flashes all set on manual and all using different power settings. The first flash was overhead and had a grid to focus the light into a small spotlight, there was also a slight warming filter on this flash. Then there are two flashes, one on each side with green filters to had some fill and interesting color, as the top lighting was creating harsh shadows. The background by the way in not “wrinkled” it is merely “textured”, or at least that is what I am stating! Then to add some fill on the front I used another flash with a snooted grid and a green filter to fill the front slightly. It was intended to be a little on the darker side. Overall I am happy with it and it was as I envisioned the project to look like, so I would say that the exercise was a success. It is not a piece of wall art, but I had fun experimenting and it helped cement the concepts that I had learned in the class.