Author Archives: admin

Image of the week #6

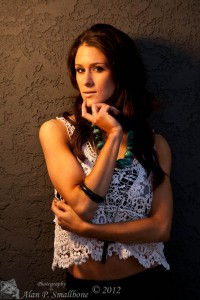
Here is an image that is a little outside the norm for me, taken at a class on using flash. The class was specifically how to use speedlights to light a subject, it was actually two different classes, one on Saturday which covered using mostly ettl and on camera flash. Then Sunday was more about using the flash in manual mode and with light modifiers. Both classes also dealt with removing the flash off camera and using it more creatively. This image of Brittany was taken against a wall in shadow from the sun, so it was very even and dull lighting. A single flash with a warming gel was used with a small softbox. It really did give some nice light on the subject reminding me of sunset colors at the the beach. I thought it worked really well and the model was really great to shoot. She had some great poses and was very patient. This shot is almost straight out of the camera, very little editing was done and no cropping. Taken with a Canon 5Dm2 and a 580exII with a Honl 8 inch portable softbox and a CTO gel, 24-105mm lens at 82mm. I was quite happy with both classes and it was through the Julia Dean Photo Workshops, got a lot out of the classes, especially on the Sunday. Julia Dean taught the class on Saturday, Crash Flash I. David Honl taught the Sunday class, Crash Flash II.


Image of the week #5

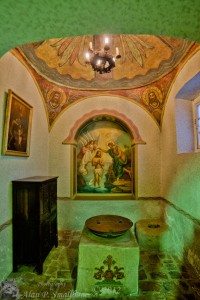
Here is a shot from inside the San Gabriel Mission, this is a small alcove off of the main church interior. The green color comes from the sun shining through green tinted windows up on on the walls of the main chapel. Why green I do not know but it made the whole inside of the church cast in a green light. The San Gabriel Mission was the 4th mission in California to be built, although it was not known as California then. It was founded on 8 September 1771, it is filled with all kinds of interesting historical pieces. The photo was taken handheld with a Canon 1Dm4, Samyang 14mm f2.8 at f.28 and ISO 3200.

Image of the week #4

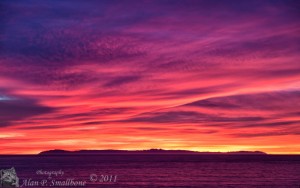
Here is this week’s image, a sunset shot, looking at Catalina Island with the sun setting behind it. I rushed home because the sunset was so colorful, this was near the end, did not have time to setup a tripod so I rested the camera on the railing and turned on the IS to help stabilize the shot. This is a 1 second exposure at f4.0 taken with a 24-105mm lens at 73mm on a Canon 5dMII. All I did was adjust the contrast I did not add any saturation or change the color this is how it came out of the camera with just a little contrast adjustment. Amazing colors,  I really need to make sure I carry my camera around with me, but at least I did not miss all of it, it was nice to watch the colors while driving too and just enjoy it visually. Thanks for looking.


Image of the week #3

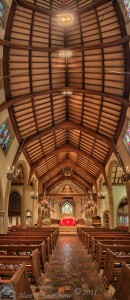
This week I had a harder time getting some shots, really did not shoot a lot, got caught up in the day to day of life. This shot was an experiment, (aren’t they all! ). Taken hand held inside a dimly lit church, All Saints Episcopal, in Pasadena.  Shot with a Samyang 14mm f2.8 using a Canon 1DM4, ISO 3200, f2.8 and a 3 shot bracket at +/- 2 stops. Starting exposure was around 1/60. This is also a vertically stacked panorama, some call a vertorama, as it shows all the way back behind me as well. So the top part of the image is actually above and behind me, I was bent over backwards while shooting this sequence. Field of view is around 75 x 176 degrees. The panorama is made from 4 frames, each 3 exposures, Ptgui did a great job of stitching although there are still some stitching errors. I am pretty pleased with it, especially getting the panorama to stitch without using a tripod or pano head.


Learning to Print……

Almost every photographer I know at some point wants to make some prints of their work. There are lots of options, you could buy an inexpensive printer and print yourself. You could also buy a more professional wide format printer and get as sophisticated as you would like, or you could use outside printing resources.  By outside printing sources, I mean uploading or taking a file and getting it printed. There are many online places and also Costco and other warehouse stores. There is also the local photo printing store, although those are becoming fewer and fewer.  A lot of choices, but it really depends on the desired results. Does the final quality of the print matter a great deal or just a little? What sizes and types do you want to make and this is just for starters. So where do you go to learn how to make a print? There are lots of references on the internet, some great, some not so good with outdated information. I know I went through this when I decided I wanted to get a quality printer. I went to a lot of sites and asked a lot of questions, and I finally settled on an Epson 4880 printer. Epson has come out with newer models since then but I love using my printer and the output is really great, much better than I had been getting using an outside printing source. The best prints come from a sound techniques and knowledge of how to control the process. So how do you get this knowledge?  I found two sources that really cover the material needed. Both are very new and I wish I had them when I was first going down this path.

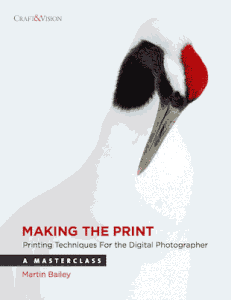
For a really good introduction and to cover a lot of useful ground, there is a new ebook from the Craft and Vision people, called Making the Print by Martin Bailey. (If you use the code “PRINT4”  before midnight on the 21st of January 2012, you can get it for $4 instead of the normal $5, or save 20% on 5+ pdf using the code “PRINT20”.) This ebook may be low cost but it is packed with lots of useful information. Enough information to make you decide whether or not you want to pursue printing on your own, and it will also give you enough information to use an external printing resource with a color managed output. This little ebook covers all the basics from types of paper, to color management and printing. There is also a chapter on doing gallery wraps on canvas. While the ebook is not intended as an in-depth tutorial it will give you enough information to get started and perhaps enough to do just want you want to do. Like anything in life you can make this as complex or as simple as you like but what matters is the end result.

If you want to get more in depth discussions and you like learning by watching videos than this next item is for you. This is a video tutorial covering everything from capture to printing to displaying on screen. It is about 12.5 hours long and is broken up into chapters. This video tutorial goes into greater depth than the ebook but also costs more. The video features Michael Reichmann and Jeff Schewe, both very accomplished photographers with a tremendous amount of knowledge. It is available for purchase and download from the Luminous Landscape web site and is called Camera to Print and Screen. Production quality and the information is top notch. This was only recently made available and even though I have done a lot of research I still learned a lot from watching these video tutorials.

Both of these are very useful resources and will help to steer anyone interested in printing their own pictures down the correct path to yielding great prints. They are certainly not the only reference but I find both of them to very useful and will really streamline the learning curve.


Image of the week #2

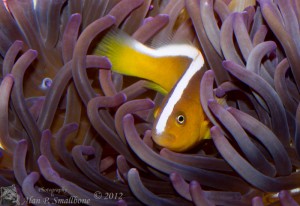
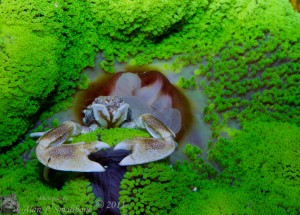
Well another week has gone by, so here are this weeks images. Yes there are multiple images this week, as I could not make up my mind on a single image. They are similar subject matter, both are taken with flash at 1/60 @f22 with a 100mm macros lens. These colorful creatures are residents in my friend, Greg’s tank. The first is a skunk clown in a purple tipped anemone. The second is a porcelain crab resting in his host, generally they like anemones and this no exception, it is a fluorescent green carpet anemone. Both of these are taken through a plexiglass tank, no need to get wet!


Image of the week #1

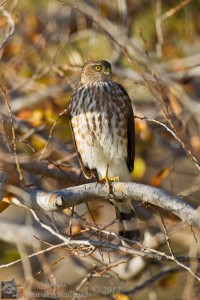
This year I have decided that I need to get out and shoot more. So I decided to do a photo of the week. My goal is to post a decent picture every week that I am able. So here is my first weeks picture. This is a Cooper’s Hawk and was taken from my back yard, near my bird feeder. They prey on small birds, he was perched in an elm tree about 20 feet or so from my bird feeder. Taken with a 500mm f4 lens handheld on a Canon 1D IV.  This was taken from the back deck so there was not a lot of room to find a good shot but I managed to find without any trees or limbs in the way. He is resting on one foot and the other is being held up. The bird is looking towards the feeder. My feeder is generally very active, I have large flocks of house finches, goldfinches, and nutmeg mannikins that come by on a regular basis. During the winter I will also get lot of white crowned sparrows pecking around the feeder and I do get a California towhee on a regular basis. So plenty to interest the hawk.


Lunar Eclipse

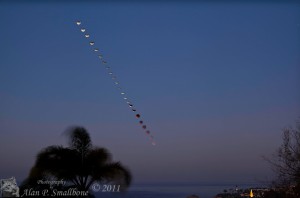
Early Saturday morning, December 10, 2011 there was a full lunar eclipse. Here on the west coast we only got to see a portion of the lunar eclipse, it started just before 5AM and the moon was going to set at 6:30AM, but we lost sight of it before then due to a layer of clouds low on the horizon. This was tricky to photograph, as the exposures kept changing due to the moon going into the Earth’s shadow, so it got dimmer and dimmer, complicating matters was the sun was also rising, so the background got brighter and brighter. This first shot is a composite of 23 shots with a 50mm lens. Exposures ranged from 1/200 to 2 seconds at f5.6 at 100ISO. It was also a challenge to composite as the images ranged from a black sky to a much brighter blue sky as the sun got higher.  (Click on the images to see larger versions.)


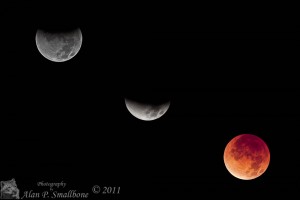
This next shot is a composite of 3 shots taken with a 500mm lens, this shows the shadow moving across the face of the moon. The orange color is when the shadow is covering the moon, almost completely here, since the moon was full it was also very bright, so you need to choose what to expose for, the shadows or the brightly lit areas. The problem with bracketing and making a composite exposure is that there is huge dynamic range, so you would need a lot of exposures. Also the moon is moving constantly so you will get some shifting in the frame, but that can be dealt with, however the real problem is the length of exposure to show the details in the dim areas is so long that the moon is blurred unless you track the movement of the moon.

These were shot from Laguna Beach, it was an interesting experience and I would probably shoot things a little different next time, but overall I did ok. I would shoot at a higher ISO for the composite sequence and check exposures more often to equalize the relative exposure of the moon. I would also use a slighter longer focal length.  For the longer focal length shots, a higher ISO would give me a faster shutter speed and less chance for showing movement blurs and I would also make sure the image stabilization was off for this type of photography. Thanks for looking, feel free to comment.

Improve your photography – for FREE!

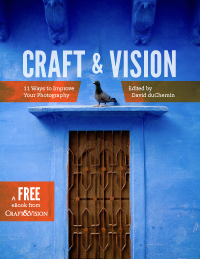
Well it may not be a completely truthful statement, it is however, still a free item. What I am talking about is the new free ebook from Craft and Vision. The ebook is called Craft and Vision, and if you click on that link you can download it for free. This book contains 11 chapters by 9 different authors that will give you tips and suggestions that might improve your photography and help you get to the next level. While it will not work miracles, it can provide food for thought.  Looking at new concepts and also re-enforcing standard techniques can help you help create better images.

There are chapters on how to read a histogram, on how to direct viewers eye to emphasize your intent, and composition. There are chapters with valuable advice, like how to take better portraits and make your images more dynamic, and much more. Is this a worthwhile ebook? Definitely and the price is certainly right, you cannot go wrong. While you are there you can check out the other volumes that are available, all for $5 each. There are some great informative titles.

One of the reasons I am recommending their books is that I have found inspiration from them. I have read many of them, and it has helped me get over a creative hump. I was getting tired of reading endless forums debating the same hardware issues, the same questions over and over, call it a form of burnout. I am now thinking more about the creative aspects, and looking at and seeing things in a different manner.  Trying to improve my craft. There is some great advice in these books and the price is reasonable which is refreshing in this day of over commercialism. So check out their free ebook by clicking on this link to the Craft and Vision free ebook.

Feel free to send a link to this blog post to all your friends and camera buddies, help them improve their photography. Feel free to comment here as well. I hope you find it useful. 

Yosemite – a different viewpoint……..

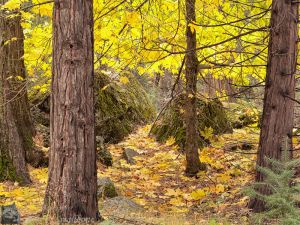
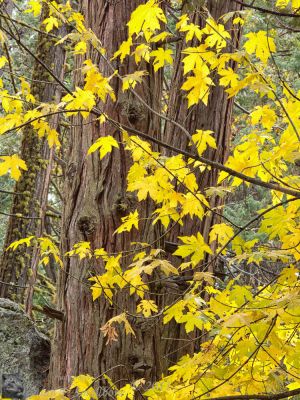
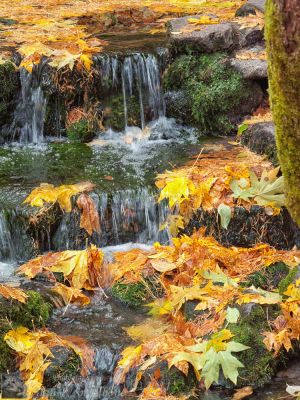
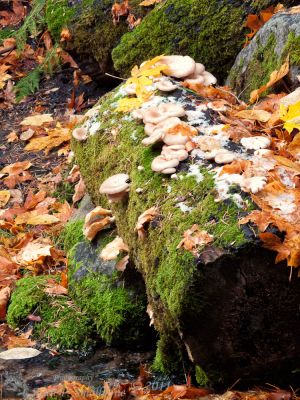
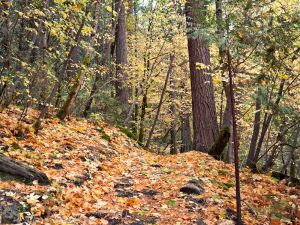
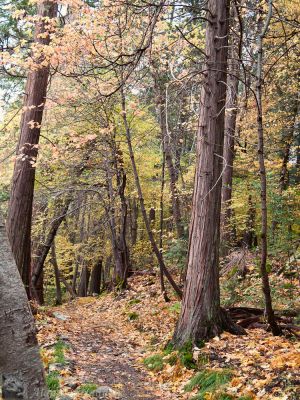
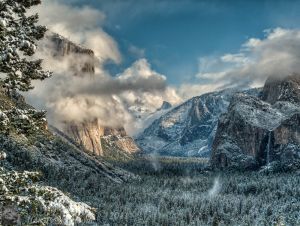
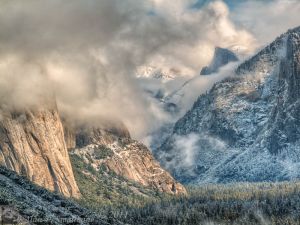
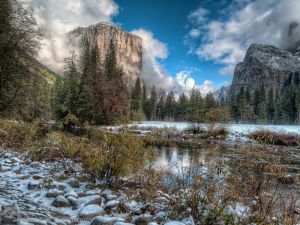
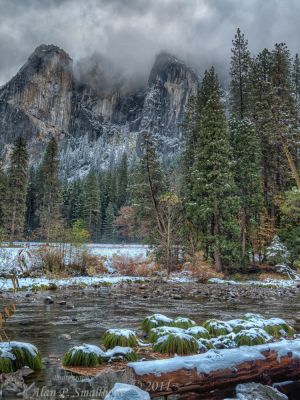
Well you have seen some of my images, here are some of Barbara’s images. Barbara is a not only my wife, friend and travel companion. She also has a very good eye for photography. It really is nice that she also shares an interest in photography, it sure makes the “photography trips” a lot more enjoyable. So I really am a lucky person! She enjoys using her Canon G-10 point and shoot and as you can see she does quite well with it. Please feel free to comment, or “like” the post. Enjoy.

IMG_3262-Edit-web.jpgIMG_3266-Edit-web.jpgIMG_3315-Edit-web.jpgIMG_3336-Edit-web.jpgIMG_3344-Edit-web.jpgIMG_3360-Edit-web.jpgIMG_3365-Edit-web.jpgIMG_3450_1_2-Edit-web.jpgIMG_3454_5_6-Edit-web.jpgIMG_3506_7_8-Edit-web.jpgIMG_3518_19_20-Edit-web.jpg