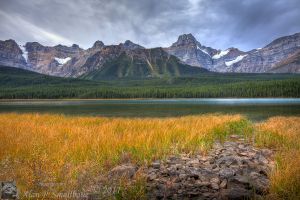
Yosemite – fall and winter combined

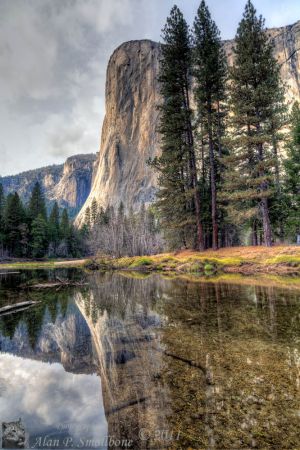
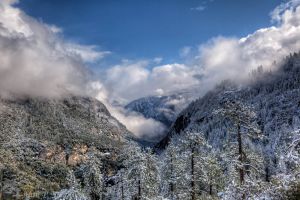
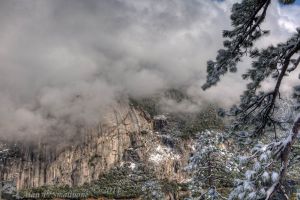
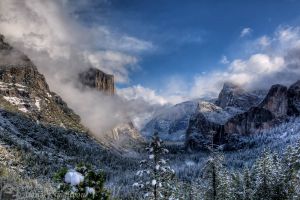
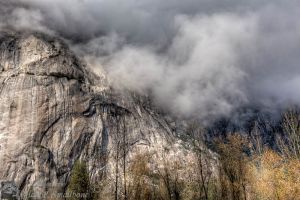
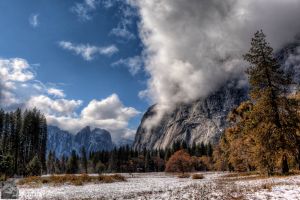
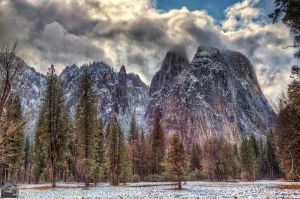
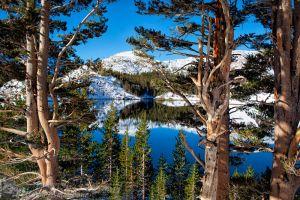
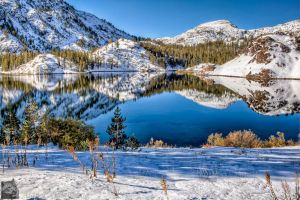
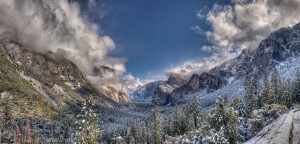
At the beginning of November, my wife Barbara and I made a short trip up to Yosemite. We were lucky enough to stay at a friend’s cabin in Wawona, so we made it a long weekend. The cabin was fabulous, very comfortable, beautiful surroundings and best of all we were inside the park! We had a great time, definitely need to spend longer next time, but we still managed to do a lot. We went there hoping to see some fall colors, and we were successful. A storm was moving through and I was hoping for some dramatic clouds to enhance the scenery, and we certainly got that as well. We were also lucky enough to get a nice dusting of snow, a wonderful time to do photography! So we had it all, great scenery, dramatic skies, snow and fall colors all rolled into one area. Here is a 4 panel panorama from the Tunnel View location overlooking the Yosemite Valley, you can see the dusting of snow and the clearing storm clouds, a great opportunity. This is a 4 panel panorama, taken with a Canon 5D MarkII and Zeiss 35mm f2 in the portrait orientation. Each panel consists of three images with different exposures blended together to capture the full dynamic range of the scene.


Here are some other views from different locations through Yosemite. I took a reduced set of equipment with me, instead of my usual collection of lenses and gear. I brought my Canon 5D MarkII and a Zeiss 35mm f2, Zeiss 21mm f2.8, Canon 70-200 f4L,  Canon 50mm f1.4, and a Samyang 14mm f2.8. The most used lens was the Zeiss 35mm, followed by the 21mm, and then the 70-200, I really did not use anything else. I hope you enjoy the images and please feel free to comment or “like” the post. Thanks for looking.

_MG_3870_1_2-Edit-web.jpg_MG_3948-Edit-web.jpg_MG_4023-Edit-web.jpg_MG_4066_7_8-Edit-Edit-web.jpg_MG_4130_1_2-Edit-web.jpg_MG_4138_6_7-web.jpg_MG_4148_49_50-Edit-web.jpg_MG_4325_6_7-Edit-Edit-web.jpg_MG_4343_4_5-Edit-web.jpg_MG_4370_1_2-Edit-Edit-web.jpg

Studying composition is a good thing…..

I think every photographer goes through periods of change, ruts develop, distractions happen, and sometimes life just moves on seemingly without any control.  I know I go through periods when I can’t seem to get a pleasing image, at least in my opinion. Is this from lack of trying, or maybe trying too much? Sometimes a spark is needed to help provoke a new way of looking at the world. A type of creative spark, something to break out of the mundane.  I know personally I have been kind of uninspired in my photography, oh I still enjoy it, but maybe I needed such a spark. One thing that has been a distraction is my love for gear and things that are technical. I get wrapped up in it, and soon I am playing more with the gear and hanging out in the forums looking and reading about gear. While gear is good, gear is just a tool. The main part of the equation is the image.  So lately I have been trying to avoid the gear and focus more on the photography. In the field I am carrying fewer lenses and less gear and that is making things a little easier, easier to be creative. To use the tools that I have with me, rather than rummage through all the equipment.

I stumbled upon the Craft And Vision website and David DuChemin’s posts on the Pixelated Image Blog and a lot of things he had to say resonated with some of the feelings I have been having and helped me to look at things in a different “light”.  Namely, photography can be difficult, and it really is not so much about the gear, but about the “vision”. The Craft and Vision website has a lot of inexpensive e-books about various aspect of photography and essays to make you think about the “craft”.

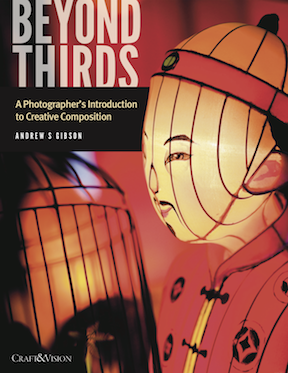
The most recent one to be released is Beyond Thirds – A Photographer’s Introduction to Creative Composition by Andrew S. Gibson. While this ebook is not intended to be a full treatise on composition, it does give some fuel for thought. The book for me was a gentle prod to make me think about composition when I am taking an image. I know I get pretty reflexive about using the “rule of thirds”, it has been ingrained into my thought processes from reading many other books and making conscious efforts to use that rule in some of my images. Well, as the book points out “rule” is a harsh term and that it really is more of a guideline. Not all images work well using thirds as a guideline, this book served to remind me that there are other considerations and other ways to compose an image. The book does go through and shows some nice images and discusses the merits of the particular composition selected by the author. It did make me think about how I am creating images and to think about how I want to capture my vision and intent.

I mentioned that it is far from a textbook but it is gentle prod to think about how to express yourself and how to improve your images. The price of the book is a very reasonable $5, Click here to purchase Beyond Thirds – A Photographer’s Introduction to Creative Composition by Andrew S. Gibson. If you use the code BT4  when you check out, the price is only $4, OR you can use the code BT20 to get 20% off when you buy 5+ PDF ebooks from the Craft & Vision collection. These codes expire at 11:59pm PST November 19th, 2011.

HDR photography: What’s the big deal?

HDR photography or high dynamic range photography can generate a lot of controversy in some circles. Especially in the online forums; mention that you have taken an image using HDR techniques and you will get very polarized responses. This polarization is kind of funny, in my opinion. Photographers will either love it or hate it, although there some that are a little bit in the middle, but basically very polarized, they either love it or hate it.. I’m not so sure why this is such a big controversy after all it’s just a technique, a tool, that the photographer can use to process an image. This tool can be used in many ways. To me, it is a tool that is used to enhance an image to the photographer’s “vision”. So what’s the big deal? In reality it’s no different than using any other tool. There are lots of tools, and different filters and plug-ins you can get for Photoshop. For instance, Topaz Lab’s “Adjust” and Nik’s “Color Efex Pro4”. If you adjust the sliders and play around you can make a gaudy looking highly saturated low contrast images that are no different than some of the HDR photography! On the other hand, those same plugins can be used to make subtle changes, it is up to the user to control. If you mention that you used the plugins, the response is usually “toned down”, but if you label it HDR, watch out.  It all comes down to the photographer’s vision for the image, the story the photographer is trying to tell; the message to be conveyed. How the artist gets to the end result is through the use of tools, and how much or how little they are applied, again is up to the artist and what they envision.

My theory as to why it is so polarizing is some photographers have a preconception of what an image should look like. Not necessarily, what the human eye sees, but what they envisioned the sensor or the media can successfully capture. Is this right? Is this wrong? The only right answer is if it matches the photographer’s vision. Sometimes there is fear in new techniques that are not “mainstream”. The HDR technique is no different than blending exposures, it is just the method and how it is finally processed.  Many photographer’s blend several exposures to bring out details in the shadows or to bring back highlights that were blown out in the single exposure. Sensors can only capture so much light, so much dynamic range. So that leads some photographers to have this preconception that if you have details in the shadows and if there are extreme details in the highlights, with a very high dynamic range then it must be artificial. And if you label it HDR, then their bias slams to the front, the blinders come on and the wall is built. Then post that same image and mention that you took a couple of exposures and blended them together and often you will get a lot of constructive comments. Not always but generally it’s a much more relaxed and much, much less of a reaction then if you label it HDR. So I think this is just one of those biases that photographers will just have to get over. I think that you’ll see more and more high dynamic range imaging. And how it’s processed is up to the vision and skills of the photographer. It is, after all, used to show what they envisioned at the time capture. At some point in time, sensors will be capable of capturing huge dynamic ranges but until that time we will have to use the tools that we have available.
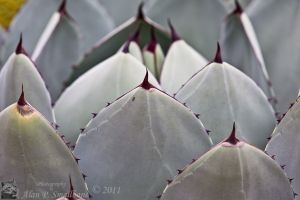
Yes we’ve all seen extremes in this type of photography. I have seen a lot of images that could have been captured with a single exposure but yet they bracketed and processed it as a HDR image. They might have very low contrast, very highly saturated colors but if the image is what the photographer is happy with, what’s wrong with that? Who is to say whether that’s right or wrong? It may not appeal to the vast majority of viewers, but it doesn’t make it any less valid of an image or “vision”.

Then there are images in which a single exposure could never capture the full range of values, and this is where the HDR technique really shines. You can then express to the viewer more of what you saw with your own eye, if that is what you want to share. It gives you greater latitude to express yourself. It is not evil, it is not a trick or something that is going to go away anytime soon. It does not need to be feared.

The funny thing is that when you talk to people who are casual users of cameras, the ones not hounding the forums, or avid photographers, they are very accommodating to the use of HDR techniques. Perhaps because they are evaluating the image, and not the way the image was processed. Perhaps they are seeing the vision that the artist was trying to convey rather than bogged down in techniques or what they deem to be acceptable. Maybe they are not as influenced by preconceptions.

To paraphrase David duChemin (Craft and Vision – Great ebooks at great prices), it is all about “the vision and not the gear”, or the technique. So again I ask, what’s the big deal?


Eastern Sierra fall colors


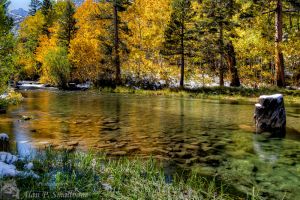
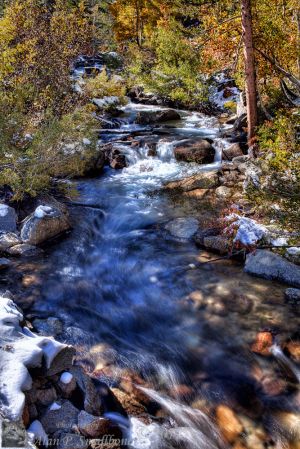
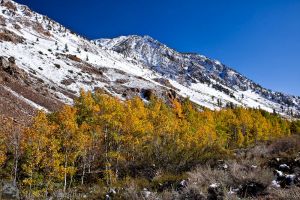
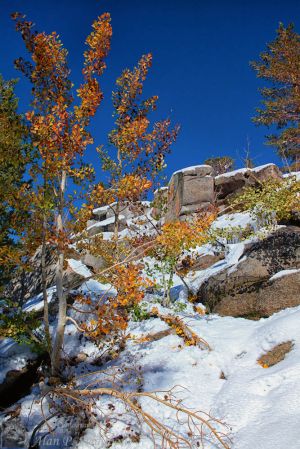
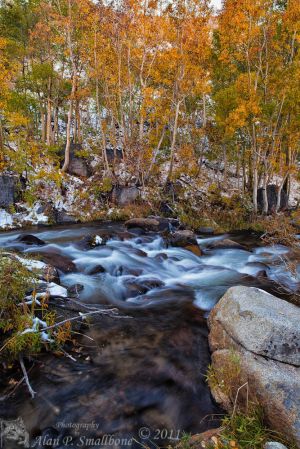
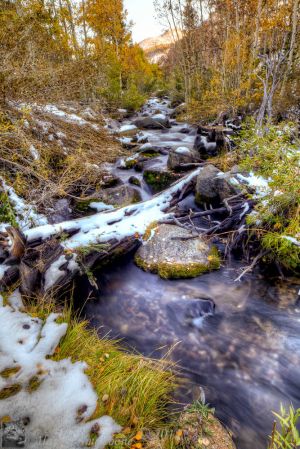
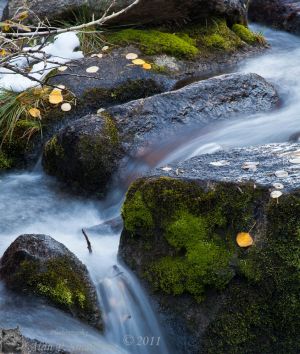
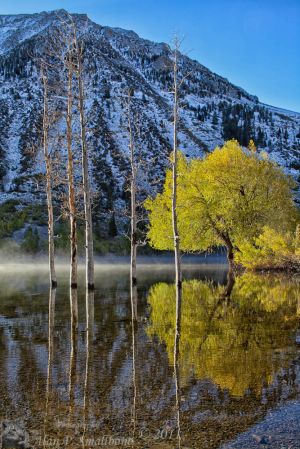
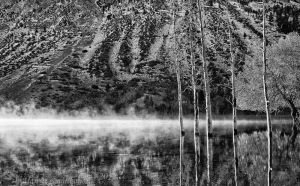
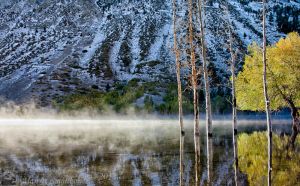
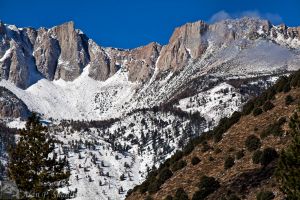
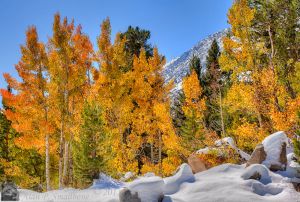
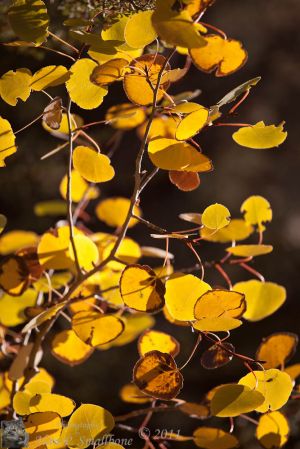
Here are some shots of fall color from the Eastern Sierra. There had been a snow storm two days before I got up there,  arrived on Oct. 7,2011. The snow had not yet melted and I was hoping that the snow and wind had not removed all the leaves, as can happen during a storm. I was fortunate, the leaves were in tact. In fact they were still mostly green on a lot of the aspens, which would seem to indicate the fall colors are happening a bit later than normal for the area. They were not at peak, the lower elevations were still green while some of the higher elevations were just starting with a few areas already well on their way. To find the more colorful areas meant I had to a be a little more selective but anytime out doing photography is a good time! So I had a real good time.  I visited the Bishop area, around South Lake and Lake Sabrina. I did go on the road to North Lake, but found a lot of people, and  snow and ice; with the warmth from the sun it was turning to mud. It also appeared that a lot of the tress around North Lake had already lost their leaves or did so during the storm. So after I got to the top I turned around and went back down. I also visited sites further north, Rock Creek, McGee Creek, and Lundy Canyon. In Lundy Canyon there was still a lot of green trees and the area around the beaver ponds was still mostly green. There was some steam rising from Lundy Lake, that was a nice treat. I think the Rock Creek area seemed to have the best color. I also took a drive up Tioga Pass and that had quite a bit of snow. It had been closed on the day I arrived but they opened it on Saturday morning. Ellery Lake had some nice reflections that vanished as soon as the breeze kicked up.
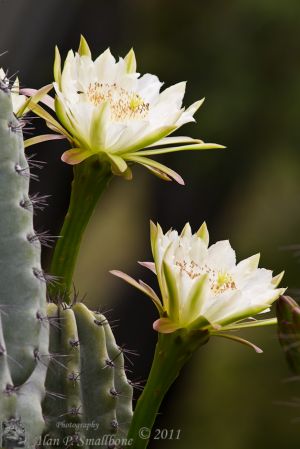
One of the things I did  different on this trip was to not bring a lot of equipment. I know sometimes I get too caught up playing with the gear, and usually  a lot of equipment  never gets used. So my tactic was to just bring a minimal amount of gear. Only brought one body, the Canon 5D Mark II, some extra batteries and the usual things like a release, tripod, filters, etc. Lenses were limited to a Canon 70-200mm f4L,  50mm f1.4, a Zeiss 35mm f2, and a Zeiss 21mm f2.8. The most used lenses were the Canon 70-200 and the Zeiss 35mm. The nice thing about the Zeiss is it makes me slow down and plan the shot a little more carefully, with manual focus it is a more conscious effort to get the shot the way I envisioned.

Overall I am quite happy with the results and hope you enjoy them as well.


_MG_0697_8_9-Edit-web.jpg_MG_0720_1_2-ver2-Edit-web.jpg_MG_0729-Edit-web.jpg_MG_0748-Edit-web.jpg_MG_0767-Edit-web.jpg_MG_0782_3_4-Edit-2-web.jpg_MG_0796-web.jpg_MG_0802-Edit-Edit-web.jpg_MG_3457-Edit-web.jpg_MG_3471-Edit-Edit-2-web.jpg_MG_3471-Edit-web.jpg_MG_3498-Edit-web.jpg_MG_3529_30_31_32_33_34-Edit-web.jpg_MG_3560-Edit-Edit-web.jpg_MG_3567-Edit-web.jpg_MG_3576_7_8-Edit-web.jpg_MG_3601-web.jpg

Sunset Panos

There was some nice clouds on Friday, some remnants of a tropical storm, so I setup on the roof and shot a few panos of the setting sun. These are 5 sets of image in portrait orientation with 3 exposures per frame to capture all the details and the available light. Processed in PTGUI and Photoshop.  Shot in Laguna Beach and within about 5 minutes of each other. Shot with a Canon 5D Mark II and a Samyang 14mm f2.8 lens. Click on the thumbnails to see larger versions.


Crescent Bay Park

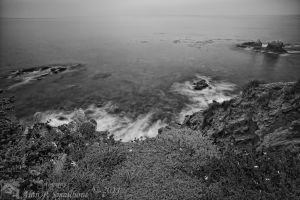
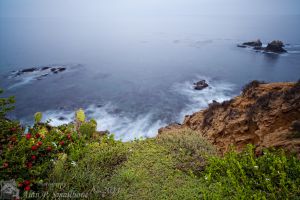
A few shots from Crescent Bay Park in Laguna Beach, it was a heavily overcast/foggy day. A bit of drizzle. All shot with a Zeiss 21mm f2.8, the first two single images were taken using a Lee Filter big stopper. I need to experiment more with this filter. The panorama was taken without filters, and is 5 shots in portrait orientation.

_MG_9970-Edit-Edit-web.jpg_MG_9970-Edit-web.jpg


Star Trails

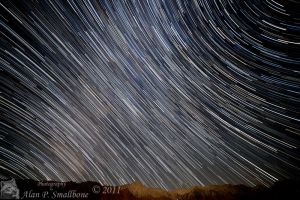
An image of star trails taken in the Alabama Hills in the Eastern Sierra. The curved star trails are the edges closer to the two poles, and in the center the trails are more or less straight the closer to the ecliptic plane. This is a stack of 99 exposures of 30 seconds each using a 14mm f2.8 at f2.8. Towards the end of the run the moon was coming up and that is what illuminated the mountain range. The tall peak just to the left of center is Lone Pine Peak, and off to the right slightly of center is Mt. Whitney. Mt Whitney is actually a taller peak but it is further back in distance relative to where I took the images. The lights down at the bottom just right of center is the Mt. Whitney Portal area, Mt. Whitney is just above those lights.


LonePine star trails-web.jpg

Huntington Library and gardens

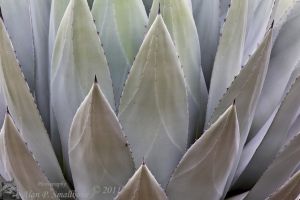
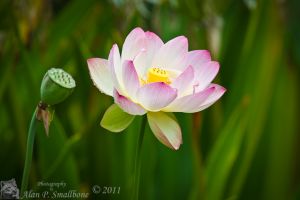
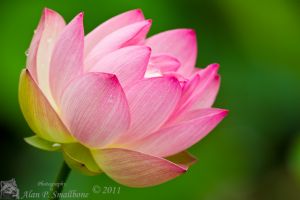
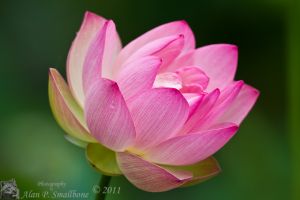
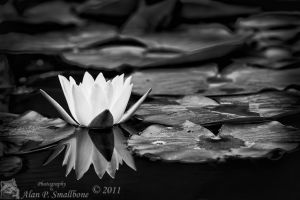
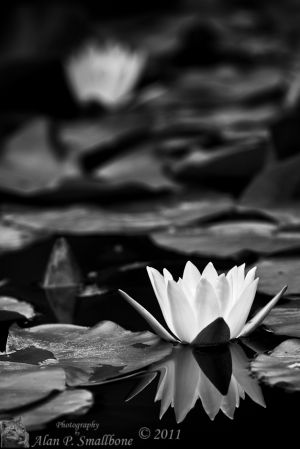
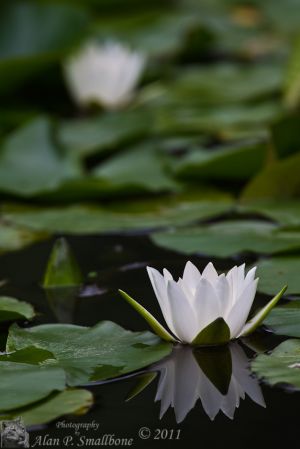
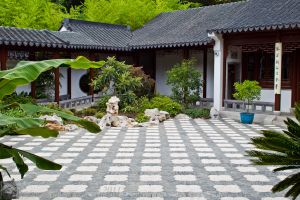
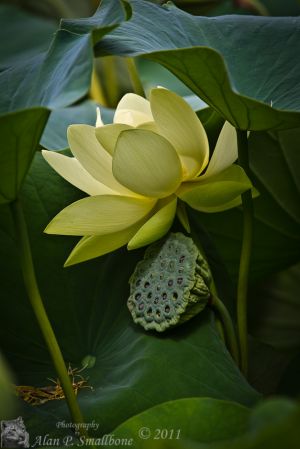
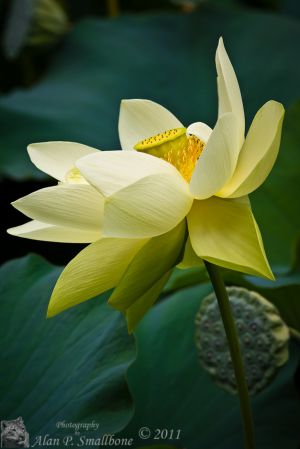
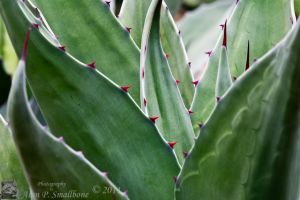
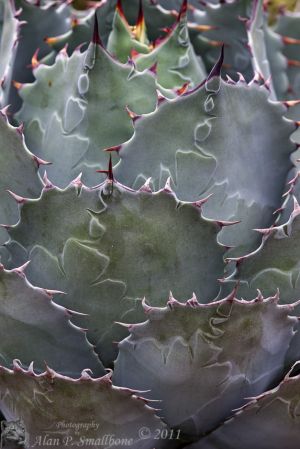
I used to go fairly often to the Huntington Library, located in San Marino California, just below Pasadena. However lately I have only been able to go every so often, and in fact I had not been there for about a year or more, until now. I had a chance to go with my friend Greg, who got us in early in the morning, before the general public. Being able to get in early is really nice, first the earlier the better for me, and with the summer “June Gloom” going on made for some nice diffuse overcast light, which is great for flowers. The gardens always have a lot of flowers and they are very well maintained, so a target rich environment! I was hoping that the ponds would have some nice lotus blooming. I really miss the large lotus blooms at Echo Park lake, it really is too bad that people saw fit to steal the roots and not let others enjoy them, and I know they also had a disease issue, but it really was a combination of the two factors. The bloom there was really spectacular and now there is nothing, I sure hope that it can be restored at some point. Anyways back to the Huntington, there was some pink lotus flowers at the lower pond and some yellow lotus at the Chinese Garden, so that was really great. Also I can’t miss a chance to visit the large cactus garden there, always a treat to get some abstracts of the different cacti. So here are some shot from around the Huntington Library gardens. Hope you enjoy them.
_32E1077-web.jpghunt220110716.jpghunt320110716.jpghunt420110716.jpghunt520110716.jpghunt620110716.jpghunt720110716.jpghunt820110716.jpghunt920110716.jpghunt1020110716.jpghunt1120110716.jpghunt1220110716.jpghunt1320110716.jpghunt1420110716.jpghunt1520110716.jpghunt1620110716.jpg

Rockies revisited

_MG_2805-2807-Edit-Edit-web.jpg_MG_3002_3_4-Edit-web.jpg


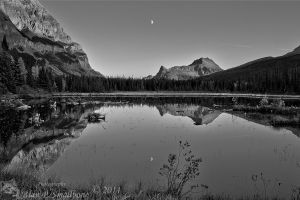
I was going through some of my images to make up the galleries that I will have on the site and started to go back through an reprocess some of images. Why reprocess? The reason is that I continue to learn new things and try out new techniques and I think it improves my overall image quality. Here are a couple of images I took on a trip to the Canadian Rockies. Hope you like them.


Film Grain

Does it seem funny to you that in this day and age of digital cameras, that people are now going back and trying to duplicate film grain? I know this is strictly opinionated and sometimes the “film grain” adds some character to an image, but it really is just noise! When shooting film you basically had no real choice, depending on the type of film being used. You shot and with some films you got more grain than with other types. Now there are all kinds of plugins and utilities to add “grain” back into an image, seems like such a waste of good data!  I have actually seen a time when it can be useful, after applying a lot of noise reduction to a high ISO image it will sometimes have a plastic type look and the addition of a SMALL amount of grain makes it seem a little more natural, ok, so that is an exception.  It just seems ludicrous to go out and buy an expensive camera with ultra smooth and relatively noise free high ISO settings and then pay a good chunk of money to add it all back.

Maybe people are just being too retro…….. but after all it is all “art” so as long as the creator is happy, what difference does it make?